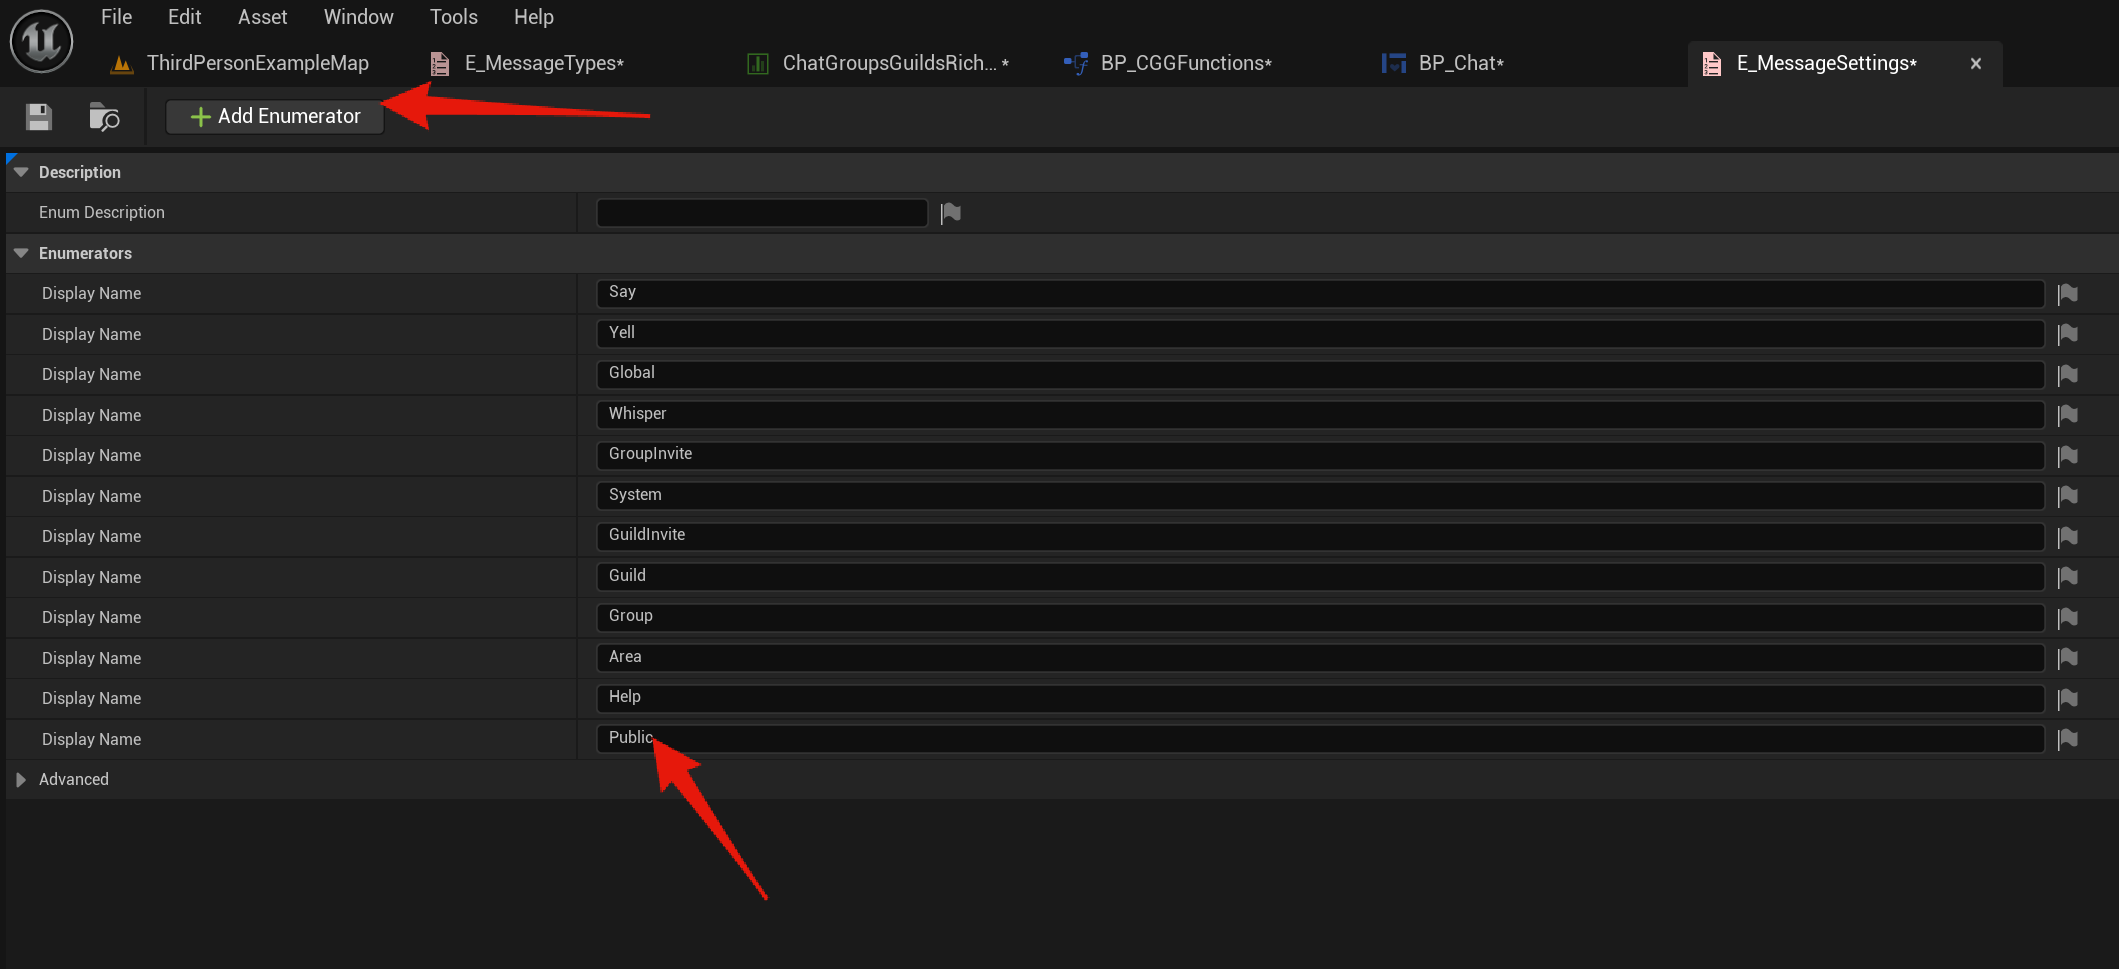
Go to the E_MessageTypes and click the Add Enumerator button, then name the new entry the name of your new chat type, for this guide I’ll name mine Public like shown in the image below.

Next in the Content Browser go to the ChatGroupsGuildsRichText and copy the video below, name the Row Name the same as the chat type you added to the E_MessageTypes. Here you can set the color of your text like in the video below.
Next go to the BP_CGGFunctions and copy the video below, when adding a new entry to the MessageTypesL variable use your message type and set the / commands to the commands you want to use to select this message type.
Next go to the BP_Chat widget and then go to the Graph view, then copy the image below.

Next go to the BP_MessageSettings and click Add Enumerator and set the new entry to the name of your new message type like the image below.
Next go to the BP_ChatPanel then go to the Graph view and copy the video below.
Next go to the BP_CGGControllerComponent then go to the Player Sent Message and copy the video below. In the video I duplicate the Send Global Message function, this node will send the message to all players in the server.
You may want to make your own Send Message function depending on who you want to receive the message. You can take a look at the Send Say Message to see an example of a message sent to only players inside a certain range of the player that sent the message.
Next copy the video below, this will reset the Chat Groups Guilds saves for the chat settings, you can do this in any level.
Your new chat message should now work in the Main Chat tab as that has all chat message types enabled. To change the other starting chat tabs settings you can right click them in game and go to the settings tab and tick on your new message type.
To change the default message types for the chat tabs there is a guide below, you can use your new message type in the Make Array node in that guide.
